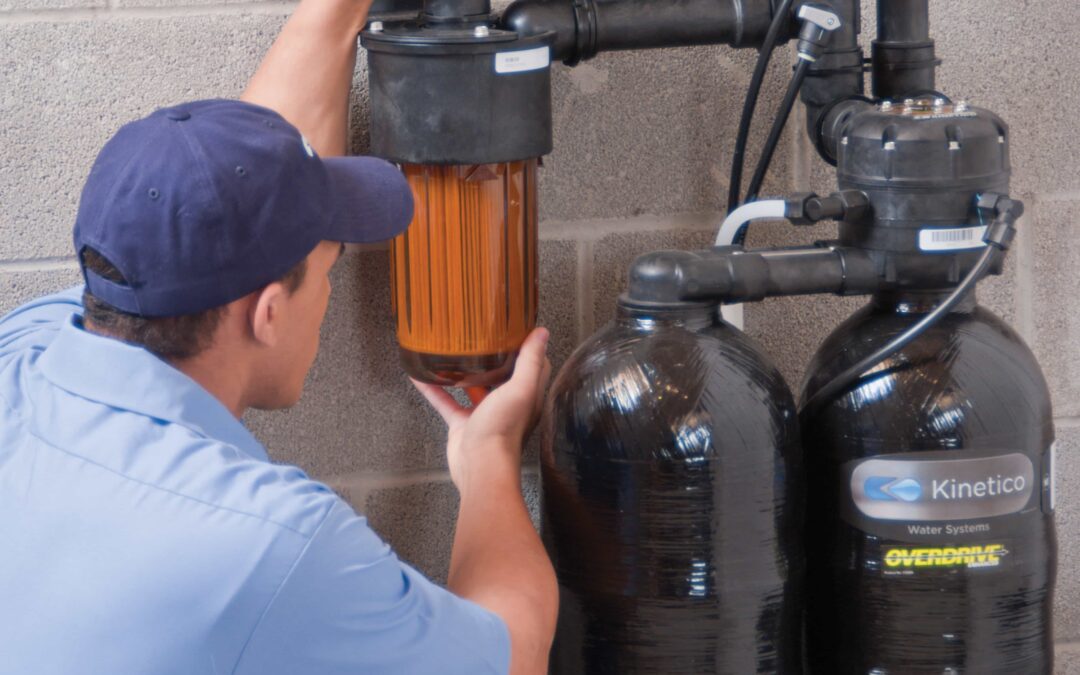
Do you own a whole house water filter system and sometimes forget the steps required to change the cartridge? Water filter maintenance should be done regularly, but it’s easy to overlook a step. Our maintenance technicians put together a how-to paper we think will be helpful in making your water filter maintenance go as smoothly as possible.
Please Note: All cartridge/bag style sediment filter systems need routine maintenance. Sediment filters should be changed quarterly, every three “ four months, and/or when a drop in water pressure is noted in the home. Carbon filters should be changed at least once every six months.
Simple Steps and Tools Needed for Sediment Filter Maintenance:
Tools: Bucket or catch pan, filter wrench, silicone (NON petroleum based), and just in case”an extra O-ring.
Step 1: Turn bypass lever and/or shut-off valve to the off/yellow position, on the incoming side.
Step 2: Place bucket or catch pan directly underneath the filter housing to catch any excess water.
Step 3: Turn on water inside the home to relieve pressure.
Step 4: Depress or turn pressure release valve counterclockwise. For PBH or bag style systems, this is the valve located at the
bottom of the filter housing.
W-10/Slim-line (4×9 and 2×19) and most other cartridge styles have a button on the top of the filter housing cap. Sometimes it’s a red button. Kinetico Super Kits have a grey lever attached to a black tube. (Depending on the plumbing and/or equipment it may take a minute to fully release the pressure.) If the pressure does not drop, double-check the bypass lever to ensure it is in the Off position.
Step 5: Using the filter wrench, loosen and remove the cartridge housing directly over the catch pan or bucket to catch any residual water. Be sure to have a tight/secure hold on the filter housing”don’t underestimate its weight. Also, pay close attention to the O-ring, which may become dislodged.
Step 6: Once the cartridge housing has been removed, check to ensure the O-ring is still seated. If it is not, you may need to use the silicone to re-seat the O-ring. If the O-ring remained secure, there is no need to re-seat. Note: Silicone can be purchased at any hardware store. Confirm the silicone used is NON petroleum based.
Step 7: Replace dirty filter/bag with a clean or new one. Reassemble the filter housing and tighten by hand. Do NOT use the Filter Wrench. Don’t make it too tight as it may make removal difficult for future maintenance.
Step 8: Once reassembled, wipe everything down with a dry cloth or paper towels to remove any/all remaining moisture. Turn the bypass lever and/or shut-off valve halfway to the On/Green position. You should hear the sound of rushing water as the canister refills and re-pressurizes. Turn off the water inside the home and then turn the bypass lever and/or shut-off valve the rest of the way to the On/Green position.
Step 9: Physically/visually inspect the seal between the filter housing and cap to ensure there are no leaks. If water is dripping or spraying from the seam, then either the O-ring was not seated properly or the housing is not fully tightened. (It’s always a good idea to have an extra O-ring and some non-petroleum based silicone on hand as they will eventually wear out).
For Assistance: If you have any problems or questions, remember that an H2O pro is standing by to assist.
Give Shiloh a call: (866) 873-1110 for 24/7 Emergency Service.
